1. Define the Core of the Design: Clarify "Who It’s For" and "What to Design"
Daily wear can lean toward simplicity and individuality.
Birthday gifts can include exclusive commemorative elements.
Club T-shirts need to highlight team identifiers (such as logos or slogans).
Browse social platforms: Search for "t-shirt design" or "T-shirt design inspiration" on Instagram, Pinterest, or Xiaohongshu (Little Red Book), and save your favorite design layouts and color schemes.
2. Sketch the Draft: Turn Inspiration into a "Visual Pattern"

If your design is a combination of "text + small pattern," first decide where to place the text (center of the chest, left chest, hem, or back), and whether the small pattern should be placed next to or below the text.
3. Refine the Pattern: Add Details and Colors to Boost Texture

Color Selection Tips:
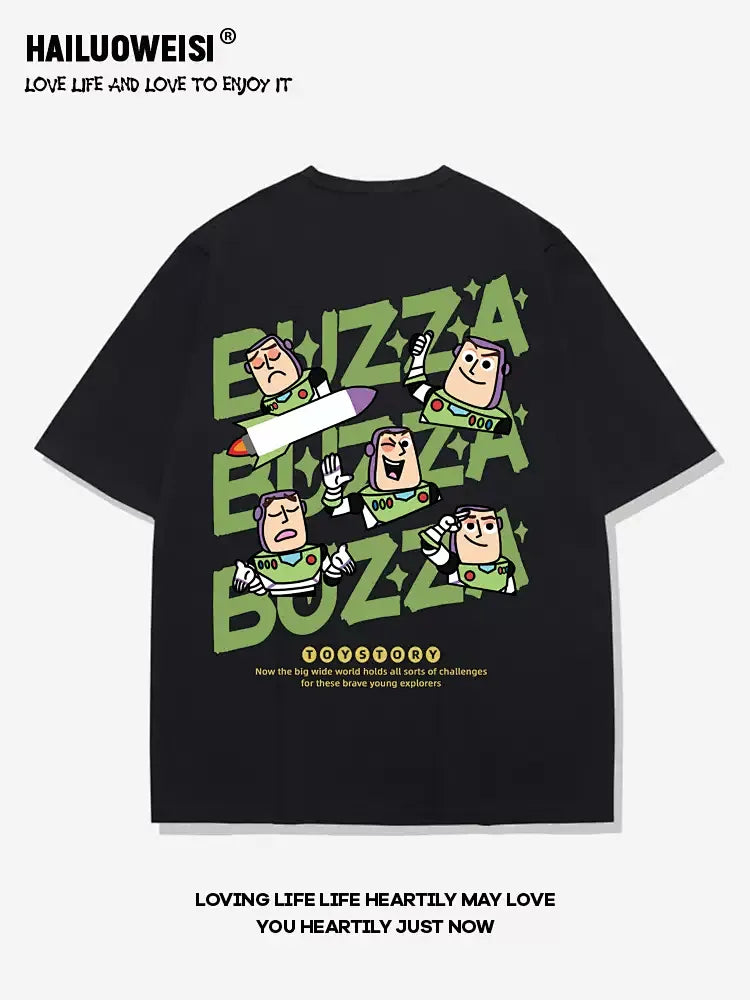
Limit the number of colors: It’s recommended to use no more than 3 colors for T-shirt design (main color + secondary color + accent color). Too many colors will look cluttered. For instance, using black as the main color, white as the secondary color, and red as the accent color is simple yet eye-catching.
Consider the T-shirt’s base color: The color scheme must match the T-shirt’s base color. For example:
White T-shirts work with patterns of any color.
Black T-shirts are suitable for bright-colored patterns (e.g., white, yellow, red)—avoid dark patterns, as they will be hard to see.
Light-colored T-shirts (e.g., light blue, light pink) pair well with dark or soft colors—avoid colors that are too similar to the base color (e.g., a light blue pattern on a light blue T-shirt will lack contrast).
4. Share and Promote

Take outfit photos: Put on your custom T-shirt, take nice outfit photos, and post them on platforms like Xiaohongshu or Weibo. Add a description of your design concept (e.g., "Inspired by my favorite movie The Little Prince, the pattern is a silhouette of the Little Prince and the fox") to attract people who love the same style.
Create a "design story": If the T-shirt is merchandise for a brand or club, write a story behind the design. For example, "The pattern on this T-shirt is the club’s logo, and the blue-and-white color scheme represents youth. We hope everyone can feel the warmth of the team when wearing it to events"—this adds emotional value to the design.